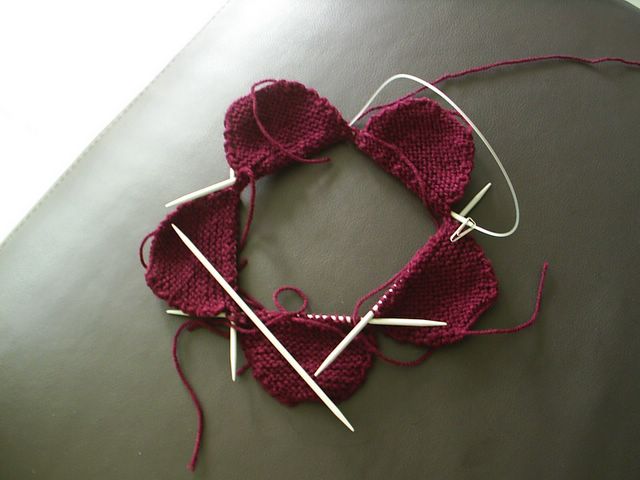
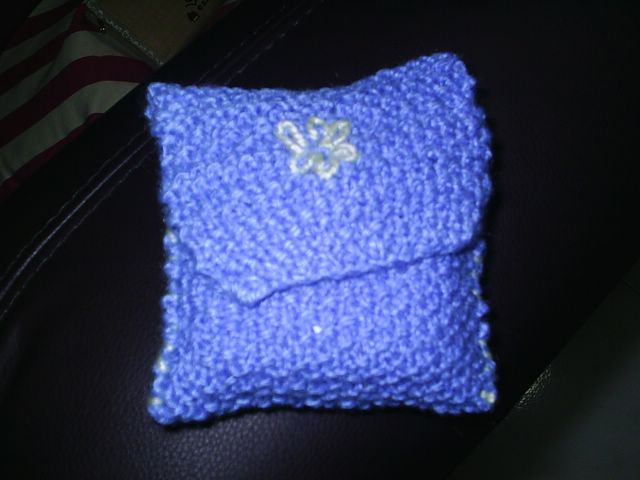
PROJECT: Flower (Completion)

Ain't that nice? This one's for Mrs. L on A levels day. ^_^
posted by ashke at 14:07
0 comments
![]()
Basically, I just want to chronicle my knitting journey. Hope you find some of the info here useful too!
posted by ashke at 14:07
0 comments
![]()
posted by ashke at 23:49
0 comments
![]()
posted by ashke at 20:47
0 comments
![]()

posted by ashke at 01:14
0 comments
![]()
posted by ashke at 23:39
0 comments
![]()

posted by ashke at 01:14
0 comments
![]()
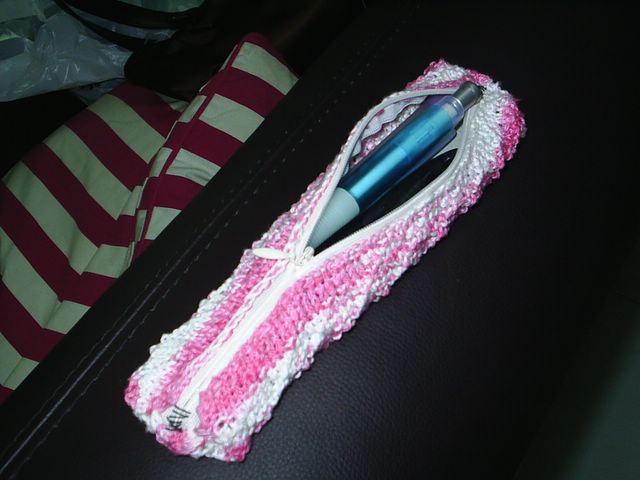
Materials
1 roll of Panda's Regal 4 ply cotton yarn (I used less than a roll)
1 pair of 3.25mm(or is it 3mm?!?!? gotta check)needles
1 20cm invisible zip (off white or was it cream???)
1 (at least) 5cm by 20cm cardboard strip
Instructions
Cast on 55 stitches (Lattice stitch: multiples of 6 + 1 st)
Makes about 22 cm length in the end. Didn't make a gauge or anything.
Knit until you feel it's the right width for a pencil case.
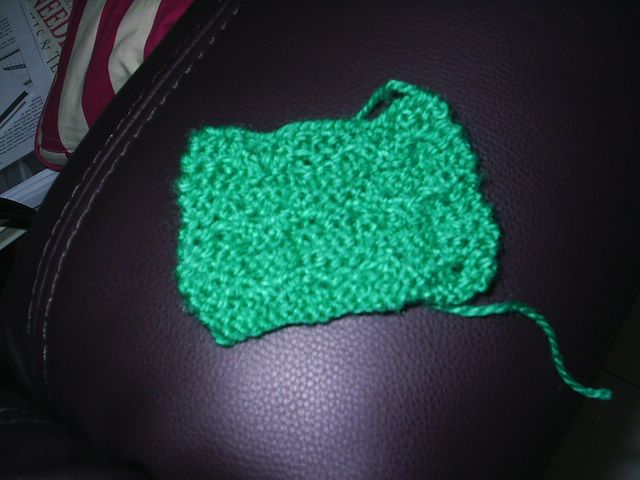
Row 1: k3, p1, [k5, p1] to last 3 sts, k3.
Row 2: p2, k1, p1, k1, [p3, k1, p1, k1] to last 2 sts, p2
Row 3: k1, p1, [k3, p1, k1, p1] to last 5 sts, k3, p1, k1
Row 4: k1, [p5, k1] to end
Row 5: see row 3
Row 6: see row 2
Sew zip on length. Sew ends inside out. Flip to right-side. Slip in cardboard strip. Ta-dah, you get a pencil case!
posted by ashke at 22:35
0 comments
![]()

posted by ashke at 22:35
0 comments
![]()
posted by ashke at 22:34
0 comments
![]()
posted by ashke at 22:32
0 comments
![]()

